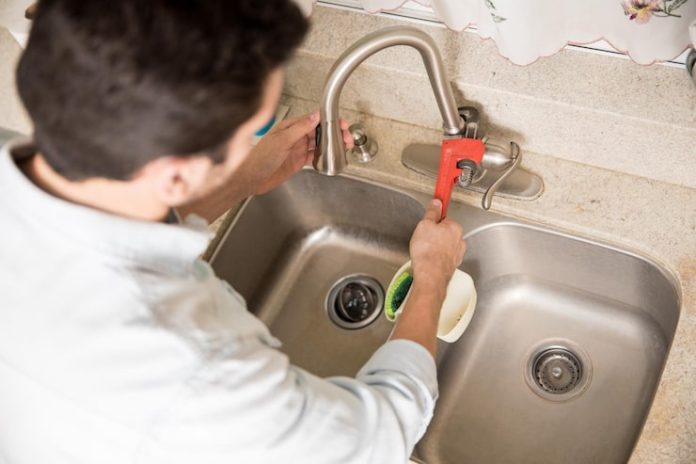


The Plumbing Project With the Best Skill-to-Impact Ratio
A faucet replacement is the plumbing project that produces one of the most dramatic and immediately visible improvements in a room — a new faucet transforms the appearance of a bathroom vanity or kitchen sink as significantly as a new fixture — with the most accessible skill requirement of any plumbing project. It doesn’t require soldering, special tools beyond basic hand tools, or any particular plumbing knowledge beyond understanding the sequence of the work.
The project that most often causes homeowners to defer faucet replacement unnecessarily is the unknown: what’s under the sink, what connections exist, what might be found when the old faucet is removed. The unknown is almost always more manageable than anticipated once the project begins.
Before You Buy: Measuring and Matching
The faucet you buy must match the sink’s hole configuration — the number of holes drilled in the sink deck and their spacing. Single-hole sinks (one hole) require single-hole faucets. Three-hole sinks (typical center-set hole spacing of 4 inches, or widespread spacing of 8 inches or more) require faucets designed for that configuration. Buying a faucet before confirming your sink’s hole configuration and spacing is the most common faucet replacement mistake.
Also measure under the sink to confirm that the new faucet’s supply line connections and mounting hardware will reach the existing shutoff valves. If the existing supply lines are too short for the new faucet’s connection points, replacement braided supply lines ($5–$15 each) are purchased alongside the faucet.
Turning Off the Water and Preparing for Removal
Locate the shutoff valves under the sink (typically two valves — one hot, one cold). Turn each valve clockwise until it’s fully closed. Verify closure by opening the faucet — water should stop flowing within a few seconds. If the shutoff valves don’t operate (common in older homes where valves haven’t been operated in years), turn off the water at the main shutoff.
Have a bucket and towels ready before disconnecting anything — residual water in the supply lines will drain when disconnected, typically a cup or less. Turn the faucet to the open position to drain residual pressure before disconnecting supply lines.
Removing the Old Faucet
Disconnect the supply lines from the shutoff valves (the connections below) and from the faucet inlets (the connections above, under the sink). Use an adjustable wrench or basin wrench (a long-handled tool specifically designed for working in the confined space under a sink — a worthwhile rental for a tight under-sink installation) to access and turn the nuts holding the supply lines.
Remove the drain linkage (the mechanism that connects the pop-up drain stopper to the faucet handle, if present) by loosening the clevis strap and the pivot rod that connects to the drain body. Remove the mounting hardware securing the faucet body to the sink — typically a nut or nuts on the faucet mounting stud under the sink. The old faucet lifts out from the top.
Installing the New Faucet and Reassembly
Follow the new faucet’s installation instructions for mounting hardware and sequence — each manufacturer’s mounting system has specific components and order of assembly. Feed the supply lines through the sink hole(s), position the faucet, and tighten the mounting hardware from below until the faucet is snug against the sink deck — not so tight that the gasket or deck is deformed, but secure enough that the faucet doesn’t rotate.
Connect the new supply lines to the shutoff valves (hand-tight plus one quarter turn with a wrench — avoid over-tightening, which damages the valve seats and supply line connections). Reconnect the drain linkage if applicable. Turn the water back on at the shutoff valves slowly, watching for leaks at all connection points. Run both hot and cold through the new faucet to purge air and verify steady flow and temperature. Adjust the drain linkage so the stopper opens and closes fully.